Introduction
Hello, everyone! 👋
I’m Rukesh Babu Gantla, and today I want to share how I built a simple calculator using HTML, CSS, and JavaScript. This is one of the best beginner-friendly projects to understand the fundamentals of web development.
I hosted my project on GitHub here: Calculator Project on GitHub.
Let me walk you through the process – from creating the layout to making it functional with JavaScript.
Tech Stack Used
- HTML (Structure)
- CSS (Styling)
- JavaScript (Logic)
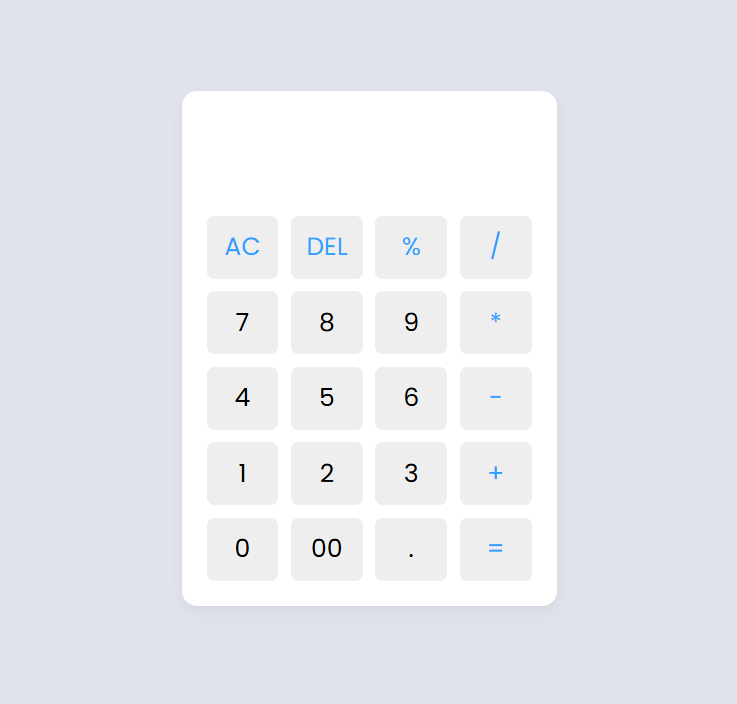
Screenshot of Final Output
Project Structure
calculator/
├── index.html
├── style.css
└── script.js
HTML: Creating the Calculator Layout
index.html
<!DOCTYPE html>
<!-- YouTube & Website - CodingLab -->
<html lang="en">
  <head>
    <meta charset="UTF-8" />
    <meta http-equiv="X-UA-Compatible" content="IE=edge" />
    <meta name="viewport" content="width=device-width, initial-scale=1.0" />
    <title>Calculator || Learn New Things </title>
    <link rel="stylesheet" href="style.css" />
  </head>
  <body>
    <div class="container">
      <input type="text" class="display" />

      <div class="buttons">
        <button class="operator" data-value="AC">AC</button>
        <button class="operator" data-value="DEL">DEL</button>
        <button class="operator" data-value="%">%</button>
        <button class="operator" data-value="/">/</button>

        <button data-value="7">7</button>
        <button data-value="8">8</button>
        <button data-value="9">9</button>
        <button class="operator" data-value="*">*</button>

        <button data-value="4">4</button>
        <button data-value="5">5</button>
        <button data-value="6">6</button>
        <button class="operator" data-value="-">-</button>

        <button data-value="1">1</button>
        <button data-value="2">2</button>
        <button data-value="3">3</button>
        <button class="operator" data-value="+">+</button>

        <button data-value="0">0</button>
        <button data-value="00">00</button>
        <button data-value=".">.</button>
        <button class="operator" data-value="=">=</button>
      </div>
    </div>

    <script src="script.js"></script>
  </body>
</html>
Explanation
- The
inputbox is used to show the numbers and result. - Each button has an
onclickevent that triggers a JavaScript function.
CSS: Styling the Calculator
style.css
/* Import Google font - Poppins */
@import url("https://fonts.googleapis.com/css2?family=Poppins:wght@300;400;500;600;700&display=swap");
* {
  margin: 0;
  padding: 0;
  box-sizing: border-box;
  font-family: "Poppins", sans-serif;
}
body {
  height: 100vh;
  display: flex;
  align-items: center;
  justify-content: center;
  background: #e0e3eb;
}
.container {
  position: relative;
  max-width: 300px;
  width: 100%;
  border-radius: 12px;
  padding: 10px 20px 20px;
  background: #fff;
  box-shadow: 0 5px 10px rgba(0, 0, 0, 0.05);
}
.display {
  height: 80px;
  width: 100%;
  outline: none;
  border: none;
  text-align: right;
  margin-bottom: 10px;
  font-size: 25px;
  color: #000e1a;
  pointer-events: none;
}
.buttons {
  display: grid;
  grid-gap: 10px;
  grid-template-columns: repeat(4, 1fr);
}
.buttons button {
  padding: 10px;
  border-radius: 6px;
  border: none;
  font-size: 20px;
  cursor: pointer;
  background-color: #eee;
}
.buttons button:active {
  transform: scale(0.99);
}
.operator {
  color: #2f9fff;
}
Explanation
- Simple flex/grid layout
- Clean UI with shadows and spacing for better look
JavaScript: Making the Calculator Work
script.js
const display = document.querySelector(".display");
const buttons = document.querySelectorAll("button");
const specialChars = ["%", "*", "/", "-", "+", "="];
let output = "";

//Define function to calculate based on button clicked.
const calculate = (btnValue) => {
  display.focus();
  if (btnValue === "=" && output !== "") {
    //If output has '%', replace with '/100' before evaluating.
    output = eval(output.replace("%", "/100"));
  } else if (btnValue === "AC") {
    output = "";
  } else if (btnValue === "DEL") {
    //If DEL button is clicked, remove the last character from the output.
    output = output.toString().slice(0, -1);
  } else {
    //If output is empty and button is specialChars then return
    if (output === "" && specialChars.includes(btnValue)) return;
    output += btnValue;
  }
  display.value = output;
};

//Add event listener to buttons, call calculate() on click.
buttons.forEach((button) => {
  //Button click listener calls calculate() with dataset value as argument.
  button.addEventListener("click", (e) => calculate(e.target.dataset.value));
});
Explanation
appendValue()adds the clicked value to the displayclearDisplay()resets the inputcalculateResult()evaluates the expression usingeval()(Note: explain this with a caution)
What You Learned from This Project
- Basics of HTML form and input handling
- CSS layout styling using margins, padding, and shadows
- JavaScript functions, DOM manipulation, and error handling
- GitHub version control and project hosting
Conclusion
Building small projects like this calculator is a great way to improve your coding skills. You enjoyed creating this and will be working on more mini-projects soon. Stay tuned!